Once you’ve installed it, you get some predefined colors on the right click on any folder in your Windows. You can choose your favorite color from there. Let me explain you in details I am providing you the full tutorial on how to change Windows folder colors.
Step 1. Download Folder Colorizer from download.cnet.com or you can download the full free version of Folder Colorizer from here.
Step 2. After downloading Folder Colorizer you need to install it. Double click on Setup file and open the file.
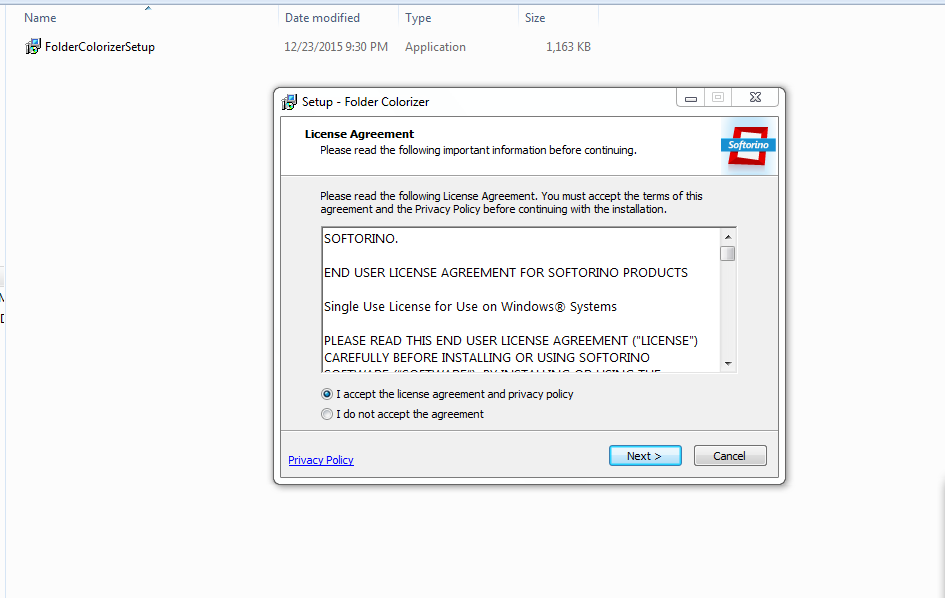
Step 3. It will ask you to accept their license Agreement. Accept the agreement and click Next as shown in above screenshot.
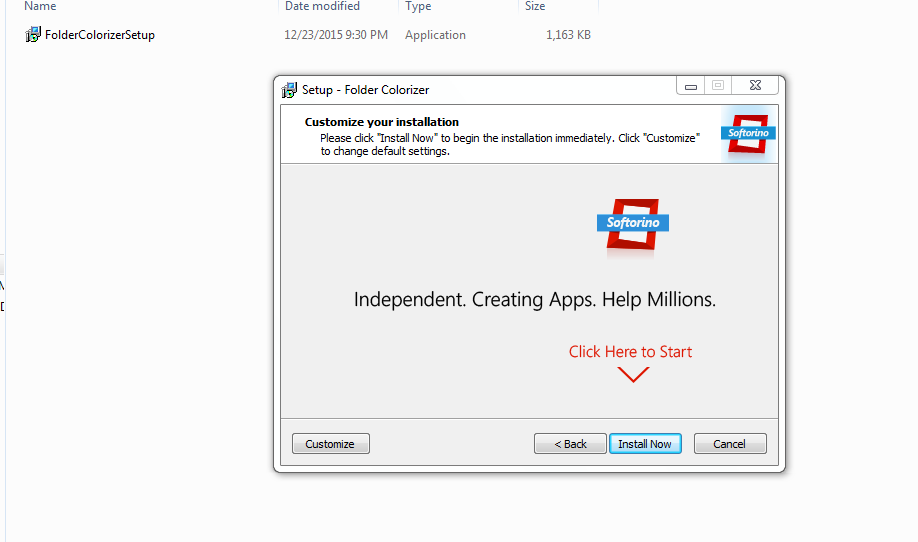
Step 4. In the next step, the setup will ask you to customize your installation. You can select your installation drive here, but if you want the program to be installed in default Windows drive then simply click on “Install Now“
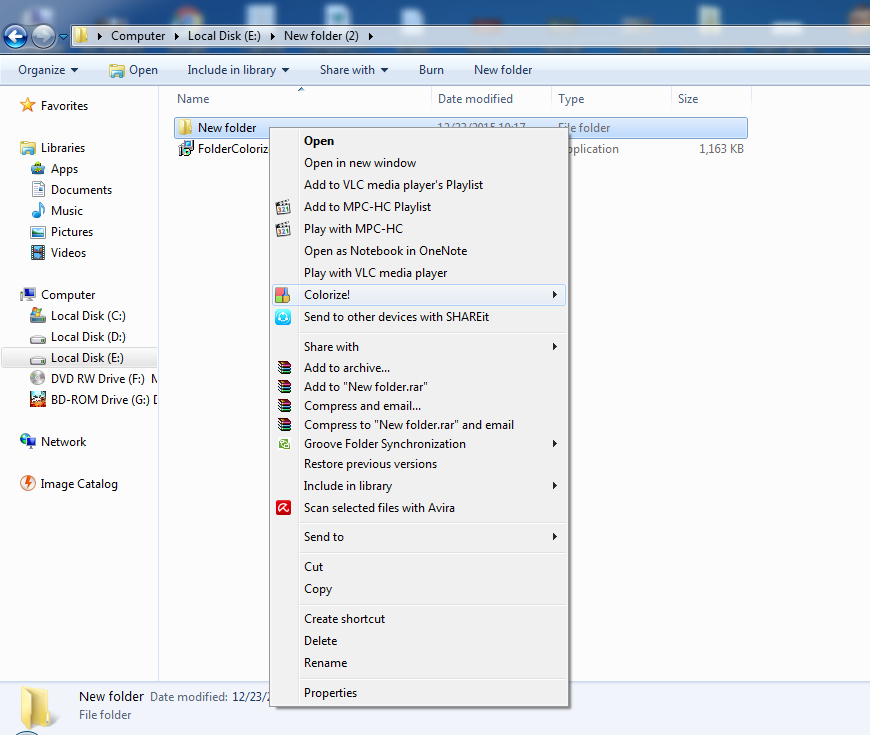
Step 5. It will not
give you any welcome note etc once it is installed, but that doesn’t
mean that you haven’t correctly installed the program. Select a folder and click right on it, you will see a new option called: Colorize!
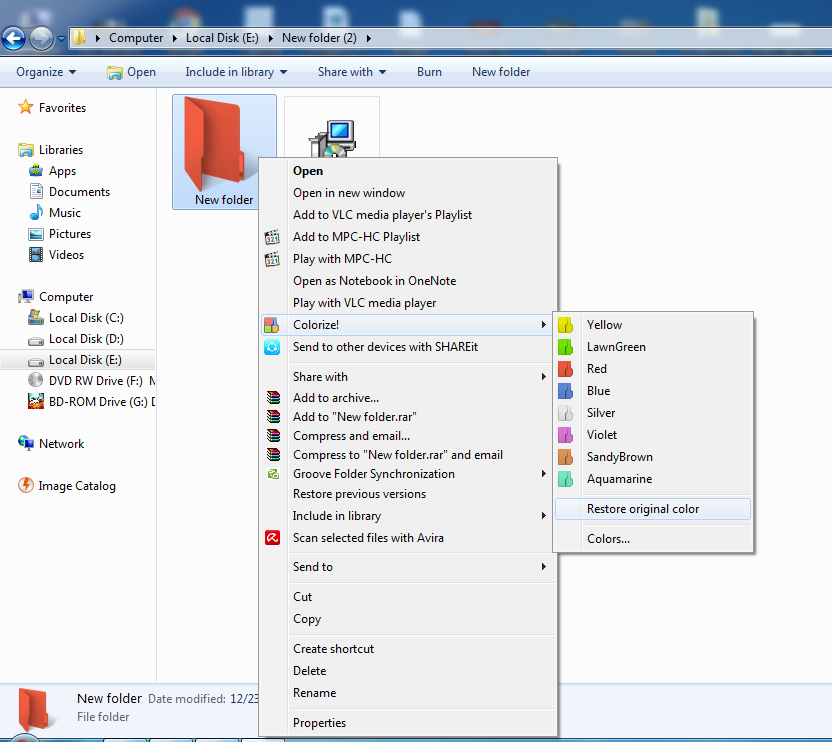
Step 6. And on the side of the program, it shows the color patterns. Just choose your color preference and the color change will be made instantly.
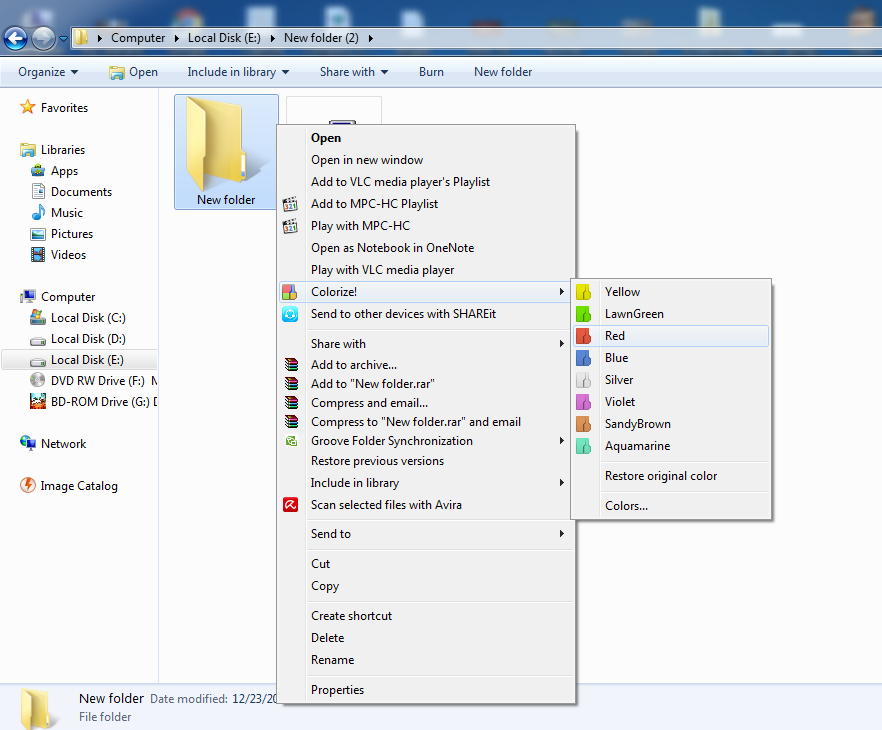
Step 7. Now if you want to restore the original color of your folder just right click on the folder select colorize and then select the option of “Restore Original color” Your folder color will be changed to the default one.
z